To make electronic drums sound natural in church, build the kit for the worship mix, not in isolation. Layer complementary kick and snare sounds, add space with ambience and reverb, then judge it through the sanctuary PA with the full band. What sounds huge in headphones can be muddy or harsh in the room.

Most electronic drums do not sound bad because of the module. They sound bad because they were configured in isolation.
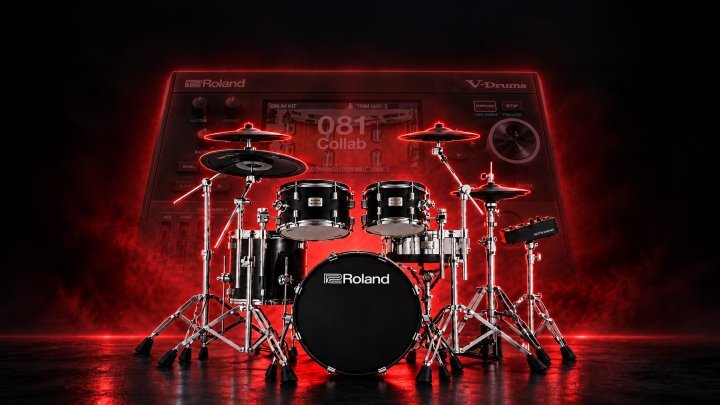
I spent weeks dialing in our Roland VAD516, and one lesson changed how I approach electronic drums in church: the kit has to be built for the worship mix. My target was the kind of sound you hear from Charity Gayle or Elevation Worship—a kick with clean low end and clear attack, a deep, punchy snare with plenty of snap, energetic toms, and smooth, washy cymbals.
The individual samples matter, but they are only part of the result. Layering, ambiance, reverb, the church PA, and the rest of the band all affect whether the kit sounds natural and supports worship.
Layering works when each sound contributes something different. I am not stacking samples just to make every part of the kit bigger. One layer might provide body while another adds clarity, attack, low end, or sustain.
For the snare, I layer preset 49, a maple snare, with preset 47, a piccolo snare.
The maple snare provides the body and depth. The piccolo adds the clarity and snap that help the snare speak through the worship mix.
I tuned the maple snare down two points and changed its shell depth to 16. Shell depth is useful for controlling how much weight the snare has. Increase it when you want more of that hit-you-in-the-chest feeling. Decrease it if the snare becomes too heavy.
The point is not to make both layers sound impressive on their own. Each layer should handle a different part of the finished snare sound.
My main kick sound is preset 20, a maple kick. I layered the enhanced kick (225) to add more click and low-end.
Blend the enhanced layer to taste instead of relying on it as the whole kick sound. It should add the definition and weight the maple kick needs without taking over.
For my three-tom setup, I use the module’s Maple presets: T2 (114), T3 (116), & T5 (120). I prefer these larger tom sounds because I want plenty of energy and low end from the toms.
Each tom uses a single preset rather than layered sounds. Layering is helpful when two sounds serve distinct purposes, but it is unnecessary when one preset already does the job.
For the hi-high, I prefer preset 149.
One crash is preset 202. On the other crash, I blend presets 194 and 196 to get a longer sustain.
The ride is preset 161 with the size modified to 23".
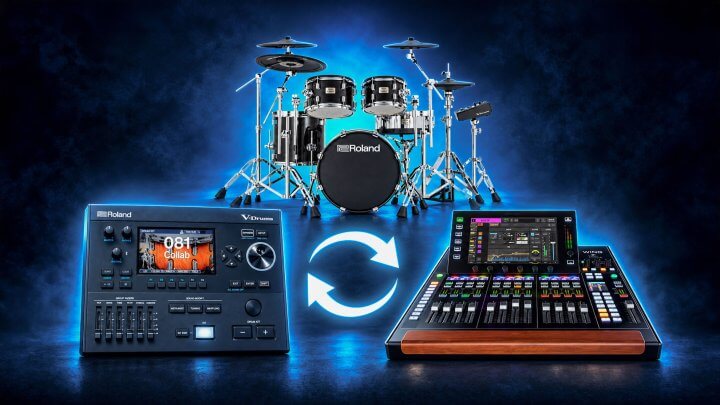
The V-51 drum module provides several controls for shaping the space around the kit, including ambiance, overhead, room reverb, and resonance. These controls are essential when you want the drums to feel natural instead of sounding like disconnected samples.
For me, getting the overhead setting right made the biggest difference. It brought life and breath to the entire kit.
You can choose excellent kick, snare, and tom sounds and still end up with a lifeless result if there is no believable space holding them together.
I do not use the module for the primary reverb on the drums because we handle that at the mixer. I do use module reverb on the cymbals, where it helps extend their length and wash.
The primary drum reverb in this setup is a room reverb at the mixer. It brings the drums to life and keeps them from sounding isolated.
I send the snare, toms, and cymbals to that room reverb, but not the kick. The decay is short—a little over one second. A drum-room or bright-room preset on your mixer will probably provide a useful starting point.
I use a substantial amount of this room reverb. For example, the reverb send on the snare and toms is almost at zero.
The right amount still has to be judged in your room with your band, but the room reverb is not merely a faint effect in this setup. It is an important part of making the kit feel connected.
The snare also goes to a separate instrument reverb. This is the same instrument reverb I use on guitars and keyboards: a hall reverb with a 2.5 second decay.
That longer hall reverb adds a trail to the end of the snare. I like to add as much as I can bear, but it is easy to get carried away. When that tail begins to distract from the mix, dial it back.
This may be the most important part of the entire process: do not make your final drum decisions in headphones.
A kit that sounds massive in headphones can become muddy through the PA. Cymbals that sound detailed in isolation can be painfully bright in the sanctuary.
Make your final decisions through the church sound system at approximately the volume you normally use during worship. Then listen with the full band playing. The goal is not to create the most impressive drum-solo sound. The goal is to build a drum kit that supports the worship mix.
This is also why copying settings is only a starting point. The presets and adjustments can move you in the right direction, but the final judgment has to happen through your PA, in your sanctuary, with the rest of your worship team.
Once the kit works through the PA with the full band, save it as your main church kit. Stop changing kits every five minutes.
Consistency helps both sides of the sound system. The drummer learns how the kit responds, and the sound tech receives a dependable signal to mix each week. You can still make careful adjustments when needed, but you are no longer starting over every time you play.
Layer sounds with purpose, use the module’s overhead ambiance to give the kit life, let the mixer create the primary room sound, and judge every final choice through the PA. That is how you turn a collection of electronic drum samples into one worship-ready instrument.
©
Collaborate Worship. All rights reserved.