When we started live streaming at our church, we had just one camera. It was simple—and it worked. But over time, we realized that if we wanted to improve quality and give our volunteers more control, we needed to step things up.
So, we invested over 40 hours and around $12,000 into building a brand-new, three-camera live stream system. In this post, I’ll walk you through exactly what we bought, how we installed it, and what we learned along the way.
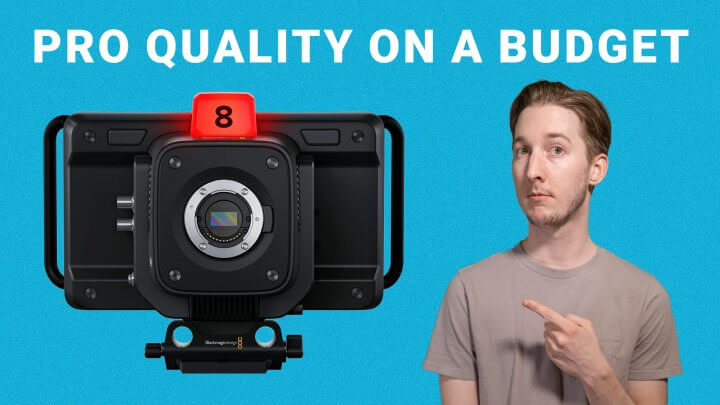
Our original setup was just one Blackmagic Studio 4K Plus, plugged into a capture card and sent into OBS. From there, we streamed out using Restream.io, pushing to Facebook and YouTube. Simple, but limited.
That same camera now serves as our close-up shot, paired with an Olympus 40-150mm f/2.8 lens. It connects to our new switcher, the Blackmagic ATEM 1 M/E Constellation, via a Blackmagic HDMI to SDI bidirectional converter, which allows full camera control right from the booth.
For the medium shot, we added a Blackmagic Studio Micro 4K G2 with a Panasonic Lumix 35-100mm f/2.8 lens, mounted using a SmallRig 7-inch Rosette Magic Arm.
The wide shot uses another Studio Micro 4K G2, this time with a Lumix 12-35mm f/2.8 lens. Both are sending SDI straight to the switcher, and we’re returning camera control data to each one through SDI outputs.
These cameras deliver incredible image quality for the price. Even when bumping ISO up to 12dB under worship lighting, the image stays clean. They support true 30.00 FPS, which syncs perfectly with our LED wall.
Each camera has an “Extended Video” profile that provides a wide dynamic range without needing to shoot in log. Plus, we have full control over ISO, white balance, and focus directly from the ATEM switcher.
All of our cameras use Micro Four Thirds sensors, which makes lens prices way more affordable than full-frame or APS-C setups. It was important for us to have constant f/2.8 apertures on all zoom lenses so we wouldn’t have to blast stage lighting to get good exposure.
We saved a lot by buying lenses used from MPB.com, and they’ve worked flawlessly.
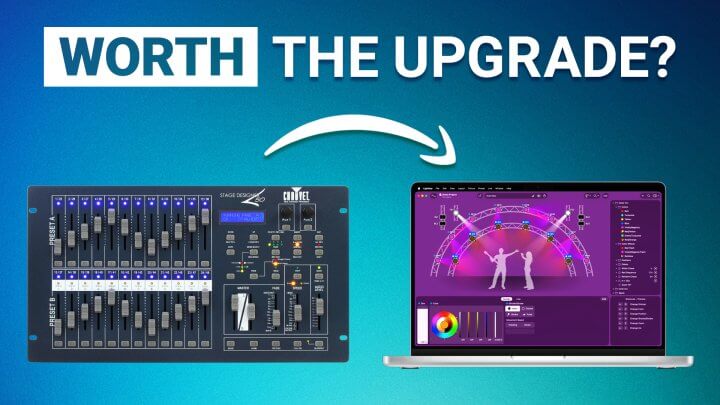
We chose the Blackmagic ATEM 1 M/E Constellation over something like the ATEM Mini Extreme because we needed more inputs and outputs, and we weren’t interested in the built-in encoder. (ATEM’s encoding isn’t great.)
It’s rack-mounted under our booth and controlled via a Stream Deck running Companion. We’ve set it up so that:
Page 1 controls camera switching
Page 2 adjusts camera settings like ISO and focus
There’s even a mute/unmute command for our stream audio
Audio is sent from our Behringer WING using a bus mix and two XLR-to-1/4" cables into the switcher. I added a 3-frame delay within the switcher to keep everything in sync.
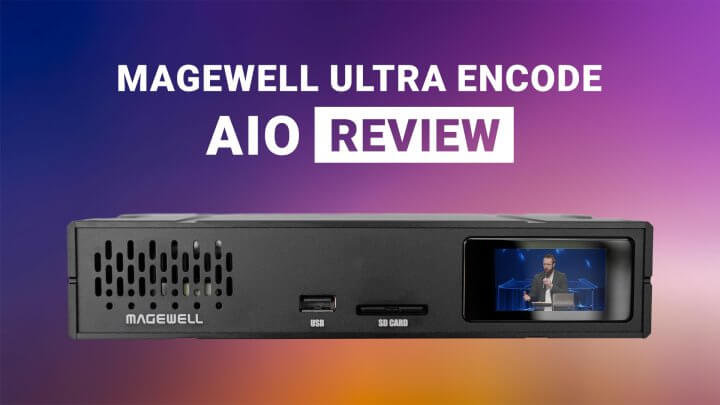
This is one of my favorite parts of the upgrade: the Magewell Ultra Encode AIO. I discovered it from a comment on Ryland Russell’s YouTube channel (shoutout to him).
It supports both HDMI and SDI, can stream to six destinations simultaneously, and even supports dual streams at different bitrates. We’re recording at 14 Mbps and streaming at 8 Mbps, and the image quality is amazing.
You can control it via a browser or use the built-in touchscreen, and it even supports local recording and cloud uploads.
For monitors, we kept it simple:
Two 6-inch Feelworld camera monitors for close and medium shots
A 24-inch 1080p Vizio TV for the multiview feed
Most computer monitors don’t handle 30 FPS well, but the TV worked perfectly.
We had a custom camera pole built by a machinist at our church. It’s bolted into the ground, includes height adjustment, and is isolated from vibrations. We’re even talking about refining it into a version we might sell as an affordable alternative to pricier options.
For mounting, we used Neewer 75mm bowl adapters, bowl risers, and an Avella fluid head for smooth leveling.
Previously, we used an ATEM Mini to feed our LED wall and stream through webcam out, but the quality was rough.
To get transparent lyrics and graphics, we needed key and fill outputs, plus clean feeds for:
LED Wall (1800x1080 resolution)
Confidence monitor
ProPresenter program feed
macOS only supports two external displays, so we added a DeckLink Duo inside a Sonnet Thunderbolt chassis. This gave us all the outputs we needed, each with custom resolutions and roles.
The total cost for this upgrade (including reused gear) was around $12,000. It took over 40 hours to plan, install, and fine-tune—but yes, it was absolutely worth it.
The video quality is drastically better, our volunteers have more control, and the system is ready to grow with us.
Check out this Google Sheet with every single piece of gear we used—including adapters and cables. Most links are affiliate links, so if you end up buying something, it helps support the channel.
There’s also a signal chain diagram to help you visualize how it all fits together.
And if you haven’t already, check out the video where I cover all the other upgrades we made in 2024.