
Fully understanding all the knobs and buttons on your mixer will relieve a load of stress and enable you to quickly diagnose and solve problems that show up week-to-week. So, let's examine panning, faders and groups.
Panning enables you to move a channel to either the left or right in your main mix. Keep in mind, you need to be running your main mix in stereo, not mono, for this to work.
Let’s say you have two electric guitars and are having a hard time distinguishing between the two in your mix. Panning one guitar slightly to the left and the other slightly to the right will help bring separation between the two.
Another application would be to set up the toms on your drums set to sound like they go from left to right. So, tom 1 would be panned about half way to the left, tom 2 would be about center and tom 3 would be panned half way to the right. Although not necessary, this little trick will add some interest to the toms.
Keep in mind, it is very rare that you will want to pan all the way to the left or right, which is also called a hard pan.
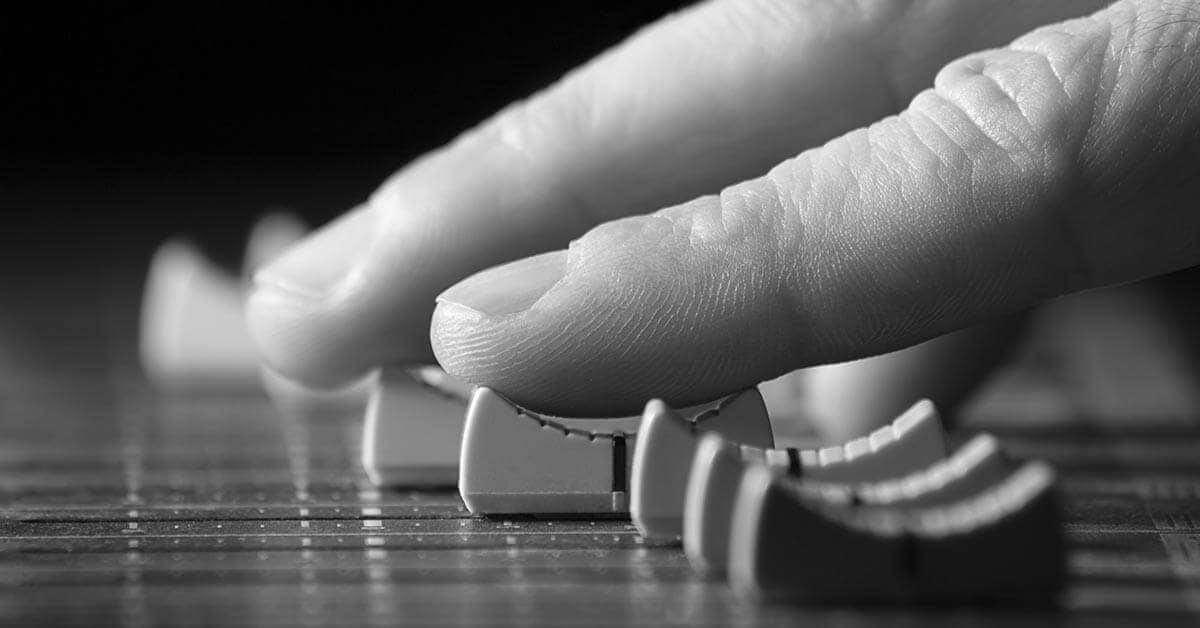
Faders enable you to adjust the level of each specific channel in three areas:
Although these are pretty self explanatory, looking at the position of your faders is a good indicator as to whether or not the rest of your mixer is set up correctly.
Generally speaking, your lead vocal and prominent instruments should have a fader position around -5dB. If out of this range, there is a good chance your gain is not set up correctly, or you may need to make adjustments to the level of your amps or powered speakers.
Just as you would suspect, groups enable you to group channels together. Then, you can adjust the level of everything in the group with one fader, or even apply the same signal processing, such as EQ, to everything in the group.
For example, let’s say you put all vocals in a group. Although it’s unlikely that you would need to adjust the overall volume, grouping vocals together enables you to set up an EQ that all vocals share. Then you can cut out the low, muddy frequencies that no vocal should have and also maybe boost in the area that gives you a bit of air and brilliance.
There are many ways you can use groups, so don’t be afraid to get creative.
Next to each fader, there is a series of buttons. The solo button enables you to check the output level of the selected channel before the fader, which is useful when setting gain. The 1-2 and 3-4 buttons enables you to send the selected channel to groups.
So, 1-2 sends the channel to groups 1 and 2 and so on. The LR or ST button enables you to send the channel to your main mix.
If you are sending a channel to a group, it is unlikely that you will also want to send it to LR/ST as well. If you do both, then the channel will be sent to your main mix twice. On the other hand, if you do not want the channel to go to a group, make sure the LR/ST button is engaged, otherwise the channel will just be sent to the aux sends.
Now, over to the right of your mixer is the group faders and controls. To set up a group in mono, both the left and the right buttons should be engaged. Or, if there is a pan knob, it should be center.
To set up a group in stereo, two groups will have to be used. Group 1 should go to the left while group 2 goes to the right. If there is a pan knob instead of buttons for left and right, be sure to engage the ST button down by the groups fader to send the group to the main mix. Otherwise, the signal will go no where.
Now that you know how everything works, you are ready to set up your groups. Be creative and have fun!
Thanks for the article, Kade! Very applicable for my role, as the worship tech leader, at my church.